How to Install AutoCut
To install AutoCut, you need Premiere Pro 2023, 2024, or 2025 (also compatible with the 2025 beta version) or DaVinci Resolve 18.6 or 19+ (both the free and paid versions work).
Download AutoCut
AutoCut is downloadable here: download AutoCut.
Click on the Download for Premiere Pro or Download for DaVinci Resolve button to start downloading the installer.

Run the Installation
1. Launch AutoCut.exe
Find it in your downloads folder

2. Wait during the setup
You will see the AutoCut logo during the setup

3. Let AutoCut launch itself
After the setup, AutoCut will launch itself. If it doesn't, launch it from the list of installed applications.

4. Wait to see this screen:
Wait, the installation steps have finished. There are 7 steps, and it will take around 20 seconds (depending on your connection). Once the installation steps are finished, you should see this screen:
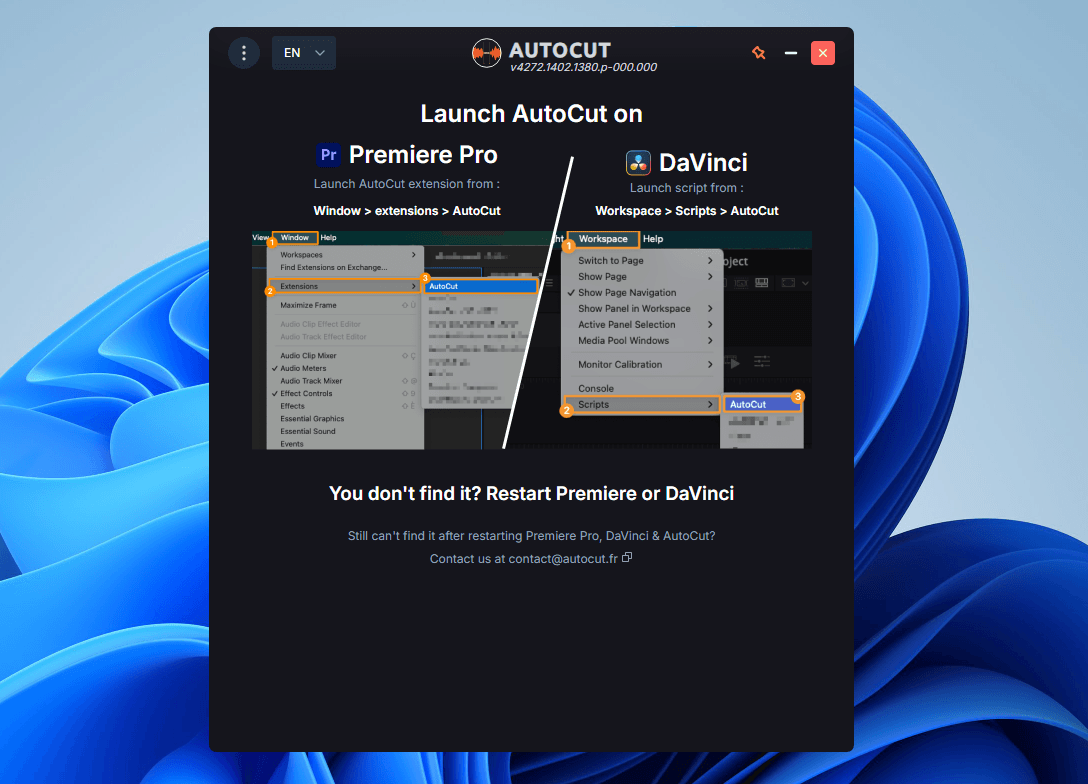
5. Launch AutoCut extension
Once you have the screen above, you can now launch the AutoCut extensions :
For Premiere Pro: Locate AutoCut in the Window > Extensions menu. (If you don't find it, restart Premiere Pro)
For DaVinci: Locate AutoCut in the Workspace > Scripts menu.


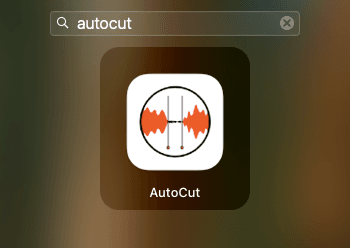
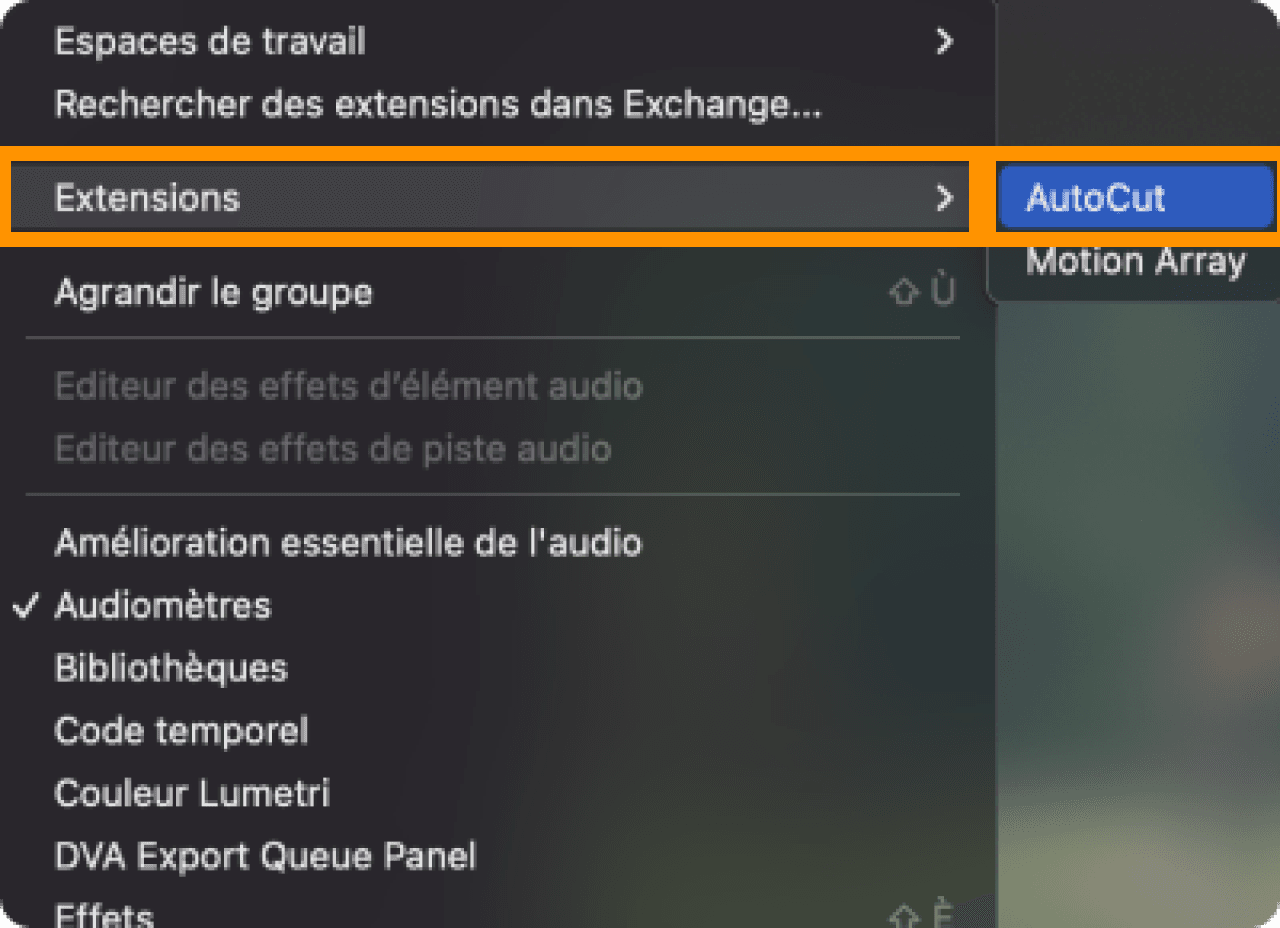
Table of contents