How to Use AutoCut Silences V2?
On Premiere Pro :
On DaVinci Resolve :
AutoCut Silences V2 allows you to master its functionality in just a few simple steps. Follow this guide to learn how to use AutoCut Silences V2 effectively.
Step 1: Preview and Noise Level
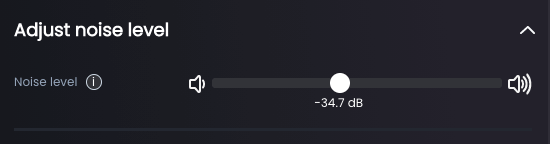
Noise Level
The noise level is crucial for detecting silences. Any sound below this level will be considered silence.
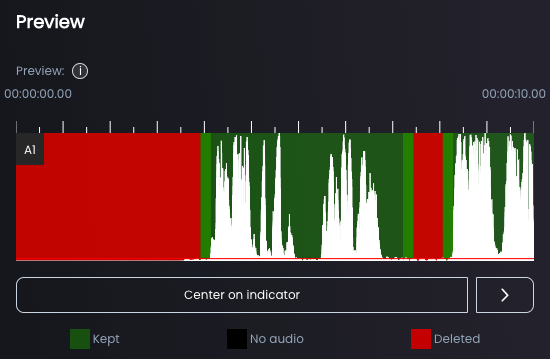
Preview
The preview allows you to visualize the effect of your settings before running AutoCut Silences on your edit. To generate the Preview, simply click the "Generate Preview" button.
Step 2: Duration of Silences
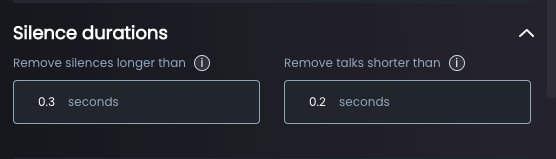
Set the durations of silence and speech to keep or remove.
- "Remove silences longer than": Determine the minimum duration (in seconds) of silence to remove. If the silence is shorter, it will be kept.
- "Remove sounds shorter than": Set the minimum duration (in seconds) of sound to keep. If the sound is shorter, it will be removed.
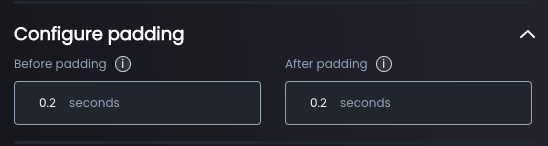
Step 3: Padding
Set the padding around each cut for a more natural edit.
Step 4: Silent Management
Choose how to manage the detected silences. We recommend using the "Remove Silences" option that fits most edits.

For more detailed options: AutoCut Silences Settings
Step 5: Transition
Select the transition to apply to each cut.


For more on different transitions: AutoCut Silences Settings
Step 6: Selection Validation
Validate your settings and ensure AutoCut Silences has accurately detected the selected clips.

Step 7: Launch AutoCut Silences
Once satisfied with your settings, click "Cut" and let AutoCut Silences do the work.
And there you have it, you now know how to use AutoCut Silences V2 to optimize your video edits! To become an expert on AutoCut Silences and discover many advanced tips, see our detailed article: Become an AutoCut Silences Expert
Table of contents