AutoCaptions Transcription Settings
We outline the transcription settings to help you use AutoCaptions more easily and take full advantage of its features.
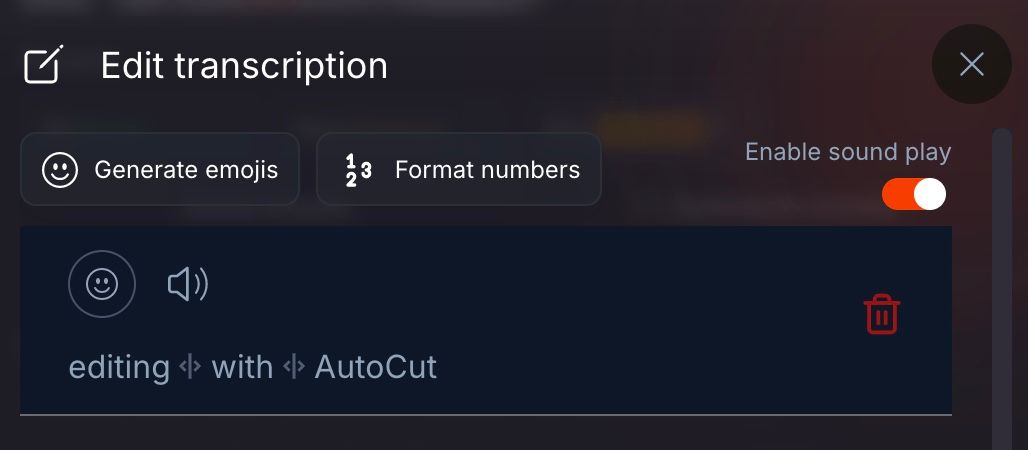
The Editing Block
When you select a caption block, it appears in the editor at the top, also known here as the editing block. This is where you can make modifications and play with different settings:
- Simply correct words by clicking on them
- Add emojis to the caption block by clicking on “Generate Emojis”
- Listen to the sentence in real time by clicking on the speaker icon
- Delete the caption block or restore it
- Split into multiple caption blocks as desired to adjust the subtitle length in your final output
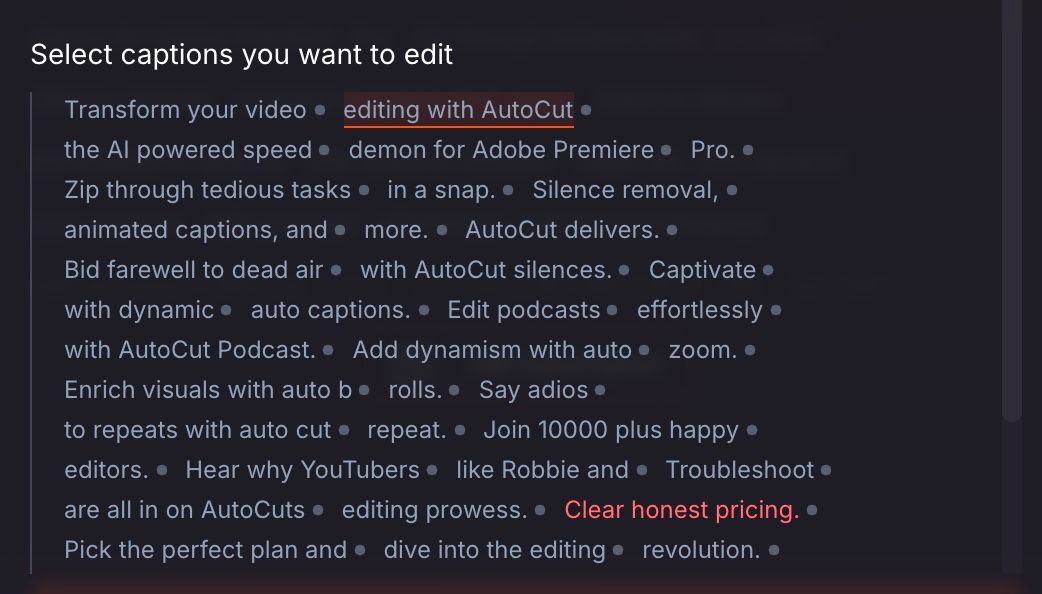
The Transcript
You also have additional options directly from the complete transcription:
- Transcription history: you can access the transcription history to easily save and retrieve all your captions.
- Merge blocks: you can merge caption blocks into one. This allows you to best adjust the size of your subtitles on the screen.
- Red word: AI may have detected an error in the transcription, so pay close attention to these words.
Transcription Review
Additional Options
To best customize your captions, several additional transcript options are available to you:
- “Generate Emojis”: AI automatically generates emojis for your captions. You just need to choose whether you prefer static or animated emojis
- “Format numbers”: to replace written numbers with numerals (six becomes 6)
- “Enable sound playback”: this allows you, by selecting a block, to display the corresponding moment in Premiere Pro. Thus, you can edit while following the sound.

Table of contents