Export a Premiere Pro Project with All Files
Introduction
In this guide, I will show you a quick and easy way to export your entire Adobe Premiere Pro project along with all associated media files, AutoCut Captions, AutoZoom, etc. This technique is essential when you need to transfer your project to another editor or deliver it to a client while ensuring that no files or AutoCut edits are missing.
How to Export Your Project?
1. Open the Project Manager
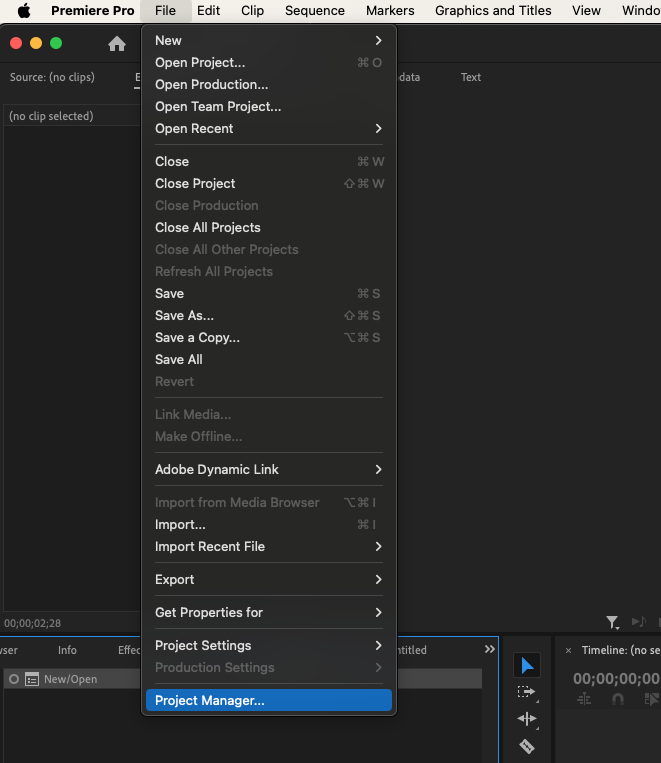
In the main menu of Premiere Pro, go to File > Project Manager.
2. Configure Export Settings
-
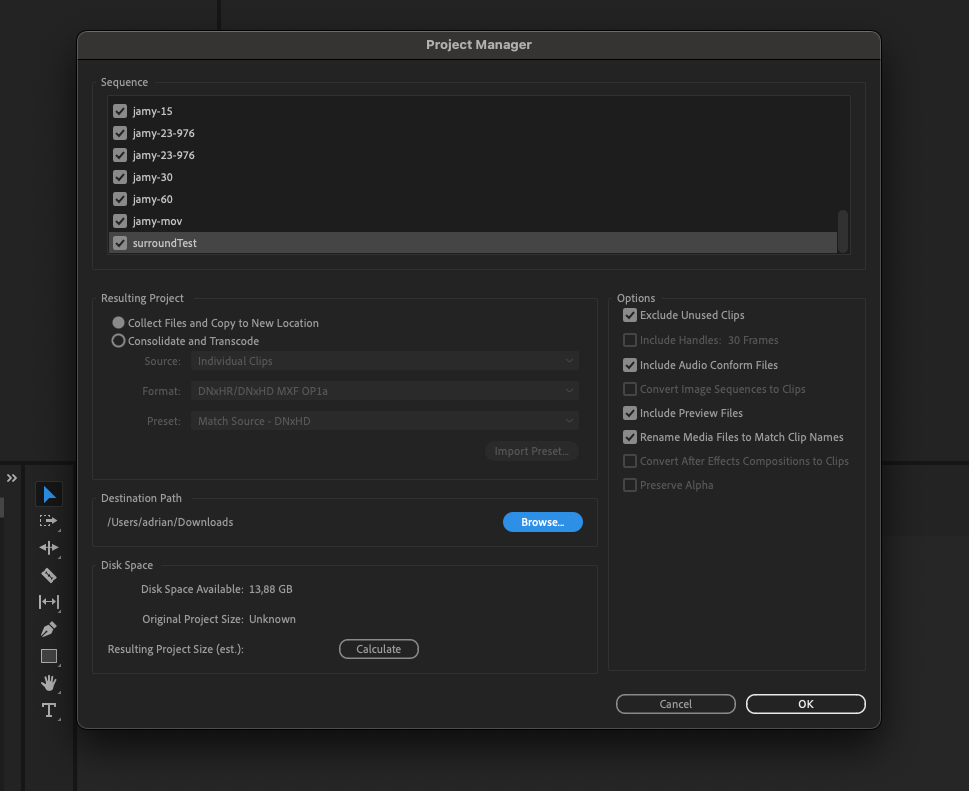
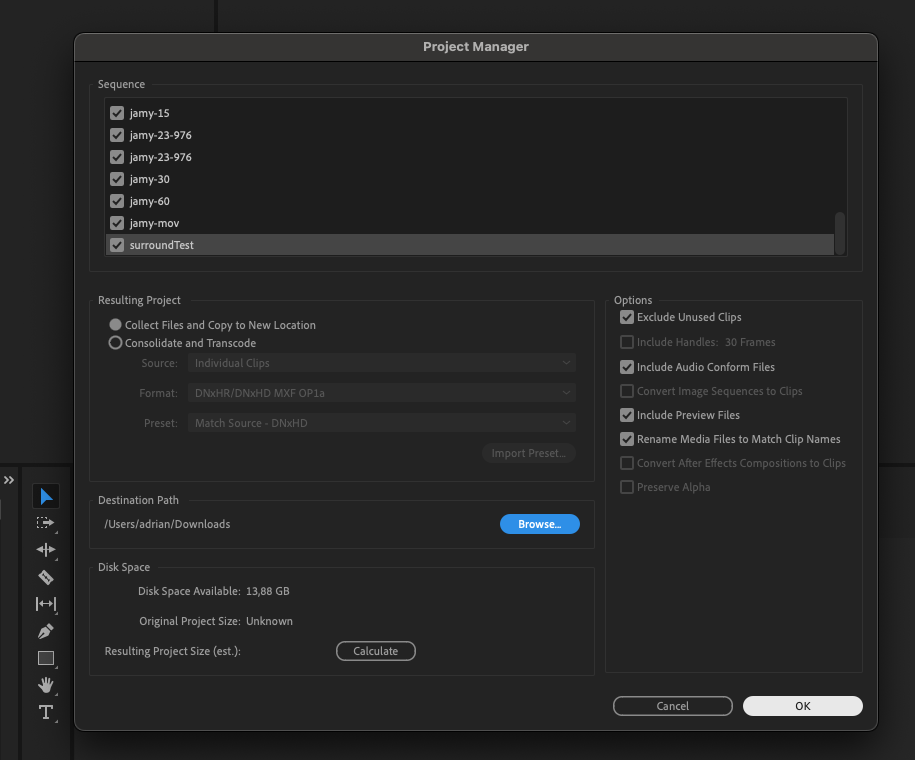
In the Project Manager window, find the 'Resulting Project' section and make sure Collect Files and Copy to New Location is selected.
-
Choose your desired destination by clicking on Browse. For this tutorial, we'll use the Desktop.
-
Check the disk space required for the export and ensure you have enough space at the chosen location.
-
You have the option to Exclude Unused Clips, which will reduce the size of the copied project by omitting clips not used in the current sequence(s).
-
Decide whether to include other files such as Audio Conformance Files and Preview Files. It is generally safe to exclude preview files unless they are needed for specific purposes.
-
If you have customized clip names in the project, you can check Rename Media Files to Match Clip Names, otherwise you can leave this option unchecked.
-
Once satisfied with the settings, click on OK to proceed.
3. Save and Export
-
Premiere Pro will prompt you to save the project before continuing. Click on Save.
-
The Project Manager will then start copying the necessary files to the specified location.
4. Verify the Exported Project
Once the export is complete, navigate to the chosen location and ensure that all files are present, including the project file, media cache, and other elements.
Conclusion
You have now successfully exported your Adobe Premiere Pro project with all associated files, ensuring a smooth transition to another editor or client. By following these steps, you can avoid issues with missing files and maintain the integrity of your project during transfers.
Always double-check the copied files before sending them to make sure everything necessary is included.
Thank you for following this tutorial. Happy editing!
Table of content