Table of contents
May 11, 2021
How to make cuts in Adobe Premiere Pro ?
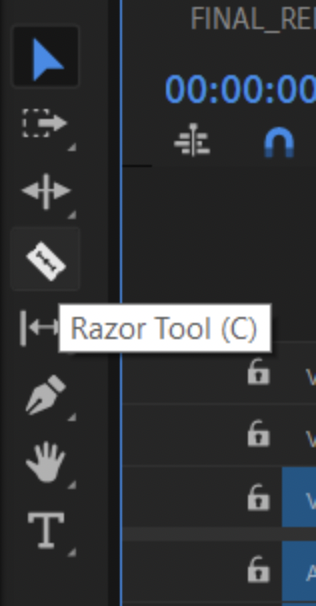
Once the clip is in the sequence you can finally begin to work on it. So you would need to start with, first of all, selecting the Razor tool by dragging the cursor to the tools bar and simply clicking on it.
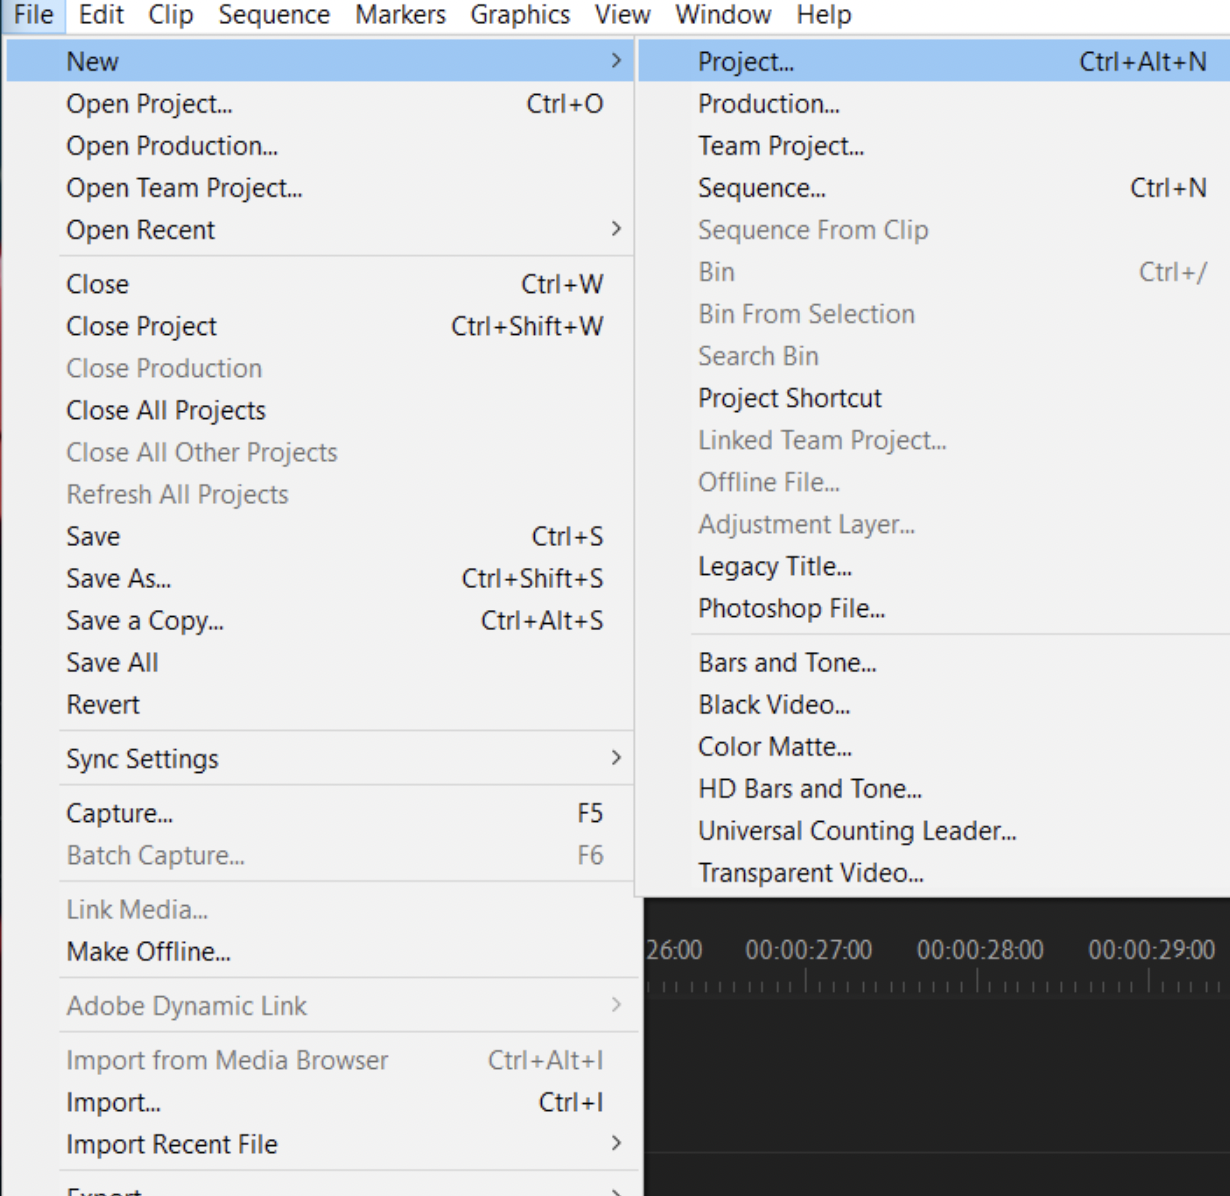
So first of all you need to launch Adobe Premiere Pro, whatever version you have. And afterwards, you need to create a new Project by clicking on “New Project” on the Home Screen or at top left goto FILE>NEW>PROJECT. Below is an illustration of this scenario:
Once you have successfully created a new project, you then need to import your footage into your project by simply double clicking in the PROJECT WINDOW and selecting your file or files. Afterwards create a sequence and drag and drop the footage into the sequence to start working with it.

Once the clip is in the sequence you can finally begin to work on it. So you would need to start with, first of all, selecting the Razor tool by dragging the cursor to the tools bar and simply clicking on it.
There are 2 ways to trim your videos in your working sequence. One of them is from the program monitor where you get a very close look and enables you to do frame by frame trimming

While the other one is from the timeline where you get a long-range view of your sequence.
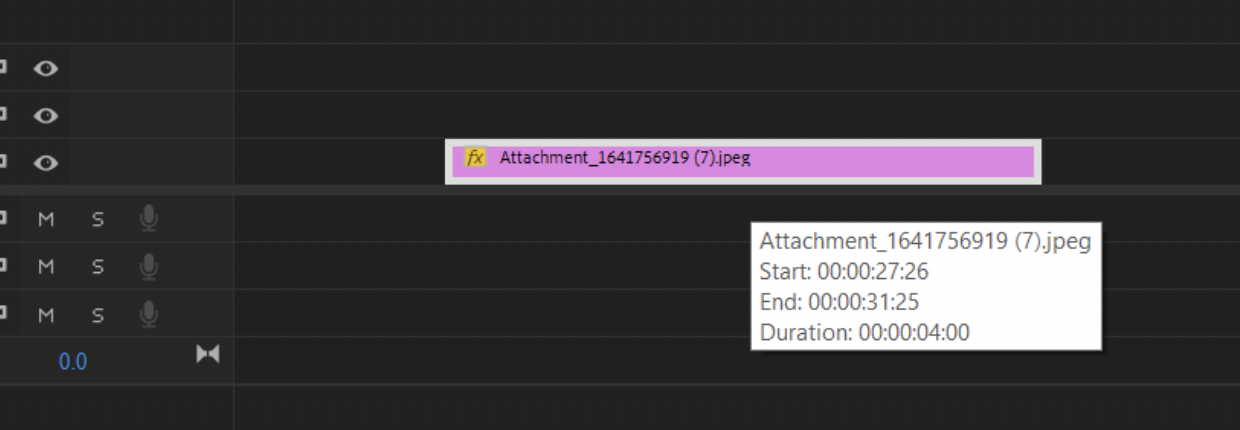
Trimming using the Timeline: Once you select which method you have to work with next it’s really easy. You just need to find the area or the frame where you need to cut the clip and then bring your cursor(Razor) to that specific frame and Click to cut. This is the first thing you learn when you learn to edit and is a really easy one.
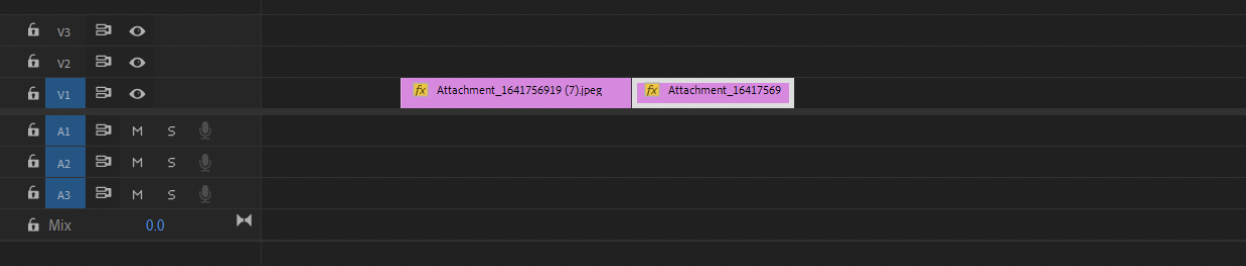
This Razor Tool is really helpful, specially, when it comes to working with very large timelines that contain multiple tracks as you can just simply select the footage, bring the razor over it and click to cut it.
If you want to cut the whole sequence at a specific point, you do it by pressing and holding the key “SHIFT” and then place the razor over that specific frame and by this all of the clips will get cut with this simple click.
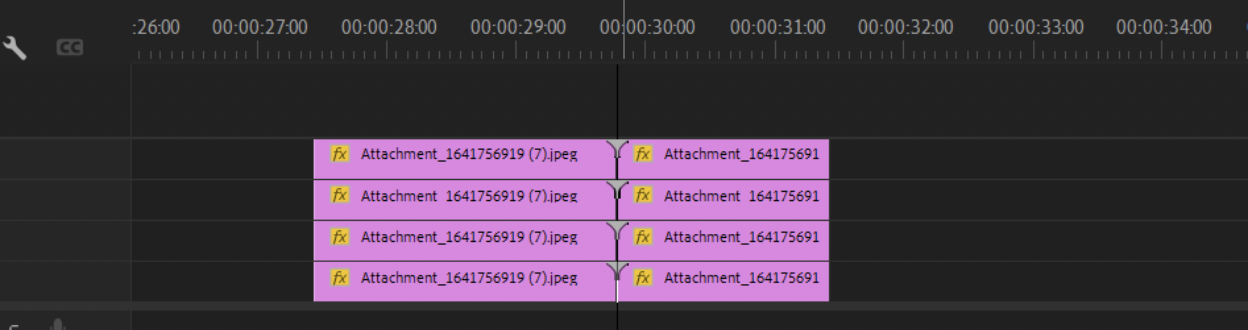
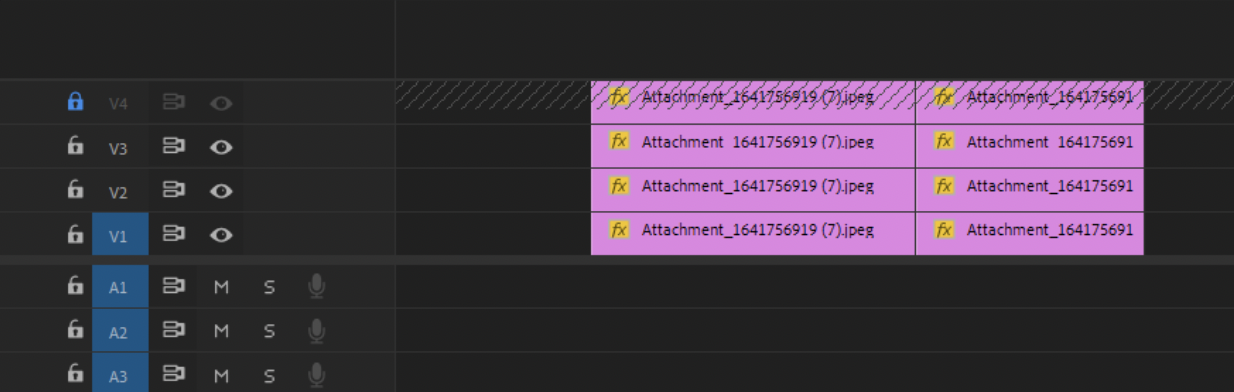
However, if you there is a clip or image coming in the way that you don’t need cut you can always lock that track so that nothing happens to that specific track. You can do this by enabling the Padlock by clicking on the padlock icon on the track to ensure no changes are made to that specific track
Trimming using the Program Monitor: The best cuts are done using the program monitor. You just need to double click on the end point of the the clip to enable trimming in the program monitor
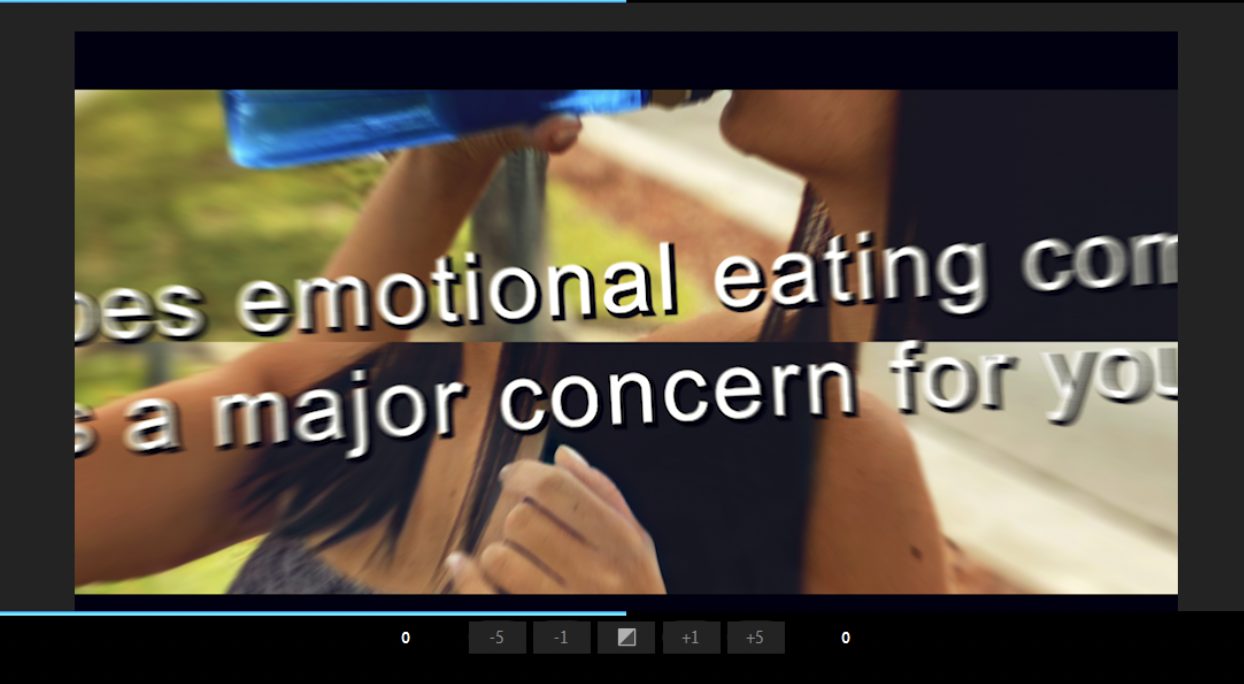
The use of the program monitor for the trimming purpose gives you much larger space for making more precise cuts. The main benefit of using it is that you get some precision adjustment buttons there under the footage which allows you to trim one or five frames at a single time.
You can always exit the Trim mode in Program Monitor by clicking anywhere on the timeline to check the preview.
Keyboard Shortcuts for Trimming: There are certain limitations to the razor tool. Like again and again going back and forth with the Razor and Select tool which can most of the times become very annoying and frustrating.
To help this, We can always Press “C” on our keyboards to select the Razor tool without using our mouse or going to the tool bar and actually selecting the Razor tool.
Similarly, most of the times we need to use the Select tool before using the Razor tool again.. To help that we can simply press “V” on our keyboard to enable the Select tool again.. This can really help us to go back and forth quite easily and precisely.
Apart from this, there is a shortcut which can allow us to cut the footage without even selecting the Razor tool or using it anyway. That is by the keyboard shortcut “Ctrl+K” we need to press keyboard key “CTRL” + keyboard key “K” at the same time and it will make a cut at the point where our timeline pointer is.
Similarly, when we need to cut the whole sequence at a specific frame we simply press keyboard keys CTRL + SHIFT + K and that way whole of the sequence footages will get cut at that specific frame without even using the Razor tool.
Adrian Guery
AutoCut Engineer
Our Blog
Latest Blog Posts
Here you'll find all our articles about AutoCut, Premiere Pro & DaVinci Resolve

Tutorial
Quickly Edit a Multicam Video with Autocut (2025)
Discover how to transform your multicam editing process with Autocut. With our five-step tutorial, edit your multicam videos quickly and efficiently while focusing on creativity. Follow our method and learn to edit a multicam video in no time!
Amélie Bonnet
Mar 14, 2025

Update
February Updates : The New AutoCut is here ! Faster, smarter, more powerful
Meet the New AutoCut—80% more stable, 50% faster, and packed with AI-driven features to revolutionize video editing in Premiere Pro and DaVinci Resolve. Plus, discover Profanity Filter V1.1 and the enhanced Podcast AI.
Myriam Hinderer
Feb 24, 2025

Interview
In the Editor's Chair: Meet James
In this new edition of "In The Editor’s Chair", James reveals his fascinating journey in video editing & content creation. For this first video edition, enjoy a captivating interview with James who shares his passion and inspirations.
Amélie Bonnet
Feb 21, 2025
The only 100% integrated solution in your editing software
The AutoCut team designed AutoCut to be fully integrated with Premiere Pro & DaVinci, allowing you to automate repetitive and time-consuming tasks.
Start your 14-day free trial TODAY! No credit card required.
AutoCut is an Adobe video partner
Download for free